Maintaining your own vehicle is not just a money-saving endeavor—it's a rewarding skill that connects you with your car on a deeper level. This comprehensive guide will walk you through essential maintenance tasks, help you understand crucial vehicle components, and empower you to handle basic repairs confidently. Whether you're a complete novice or have some experience under the hood, these tips will help extend your vehicle's life and improve its performance.
Basic car maintenance tasks for beginners
Getting started with DIY car maintenance might seem daunting, but with the right knowledge and tools, you can tackle many routine tasks yourself. According to recent articles from motorpublish.it, even beginners can successfully perform maintenance like checking fluid levels, replacing filters, and troubleshooting common issues such as a car that won't start despite having a new battery. The website features comprehensive guides on various maintenance topics, including timing belt maintenance and anti-pollution checks, which can be invaluable resources for DIY enthusiasts.
Essential tools every diy mechanic should own
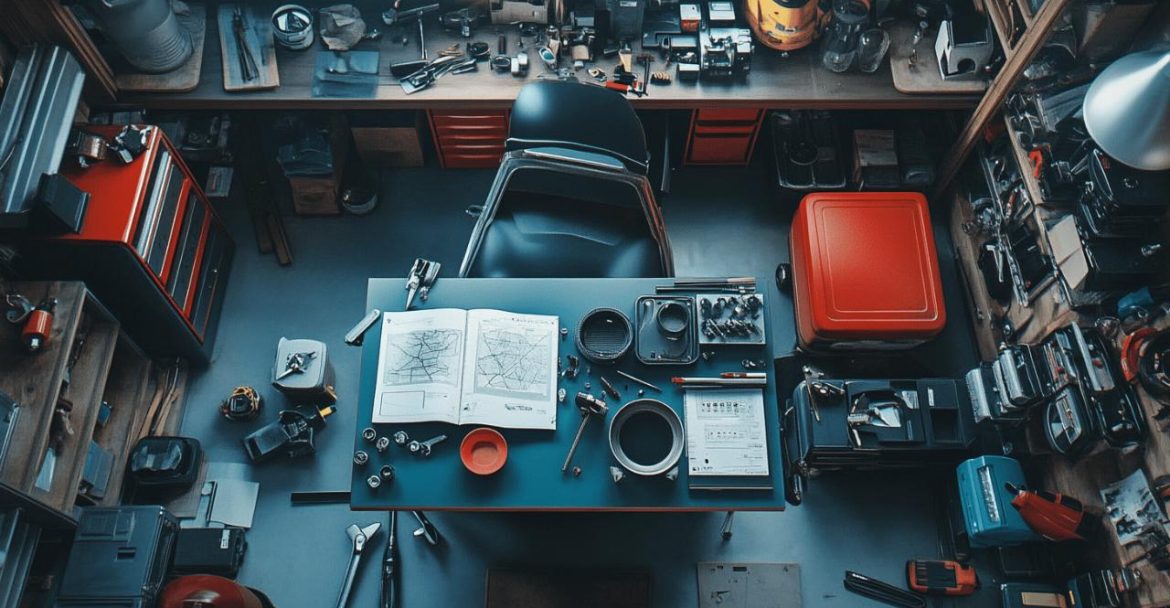
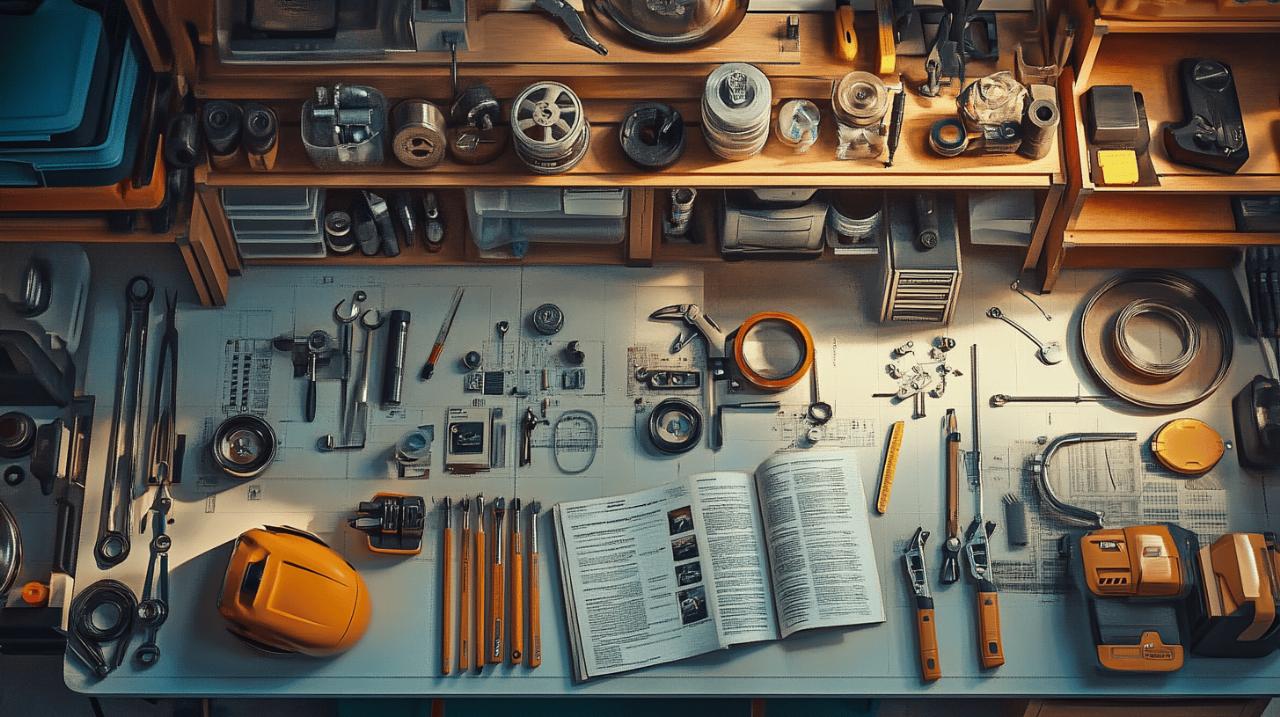
Before diving into car maintenance, you'll need to assemble a basic toolkit. Every home mechanic should have a quality wrench set, screwdrivers in various sizes, pliers, jack and stands for safely elevating your vehicle, an oil pan for fluid changes, a funnel to prevent spills, and a reliable tyre pressure gauge. Don't forget personal safety equipment like gloves, eye protection, and appropriate clothing. Having these tools ready will make maintenance tasks significantly easier and safer.
When working on your vehicle, always prioritize safety. Ensure you're in a well-ventilated area, use jack stands when working underneath your car, dispose of fluids properly according to local regulations, and disconnect the battery before attempting any electrical work. These precautions will help prevent accidents and injuries during your DIY maintenance sessions.
Step-by-step oil change procedure
Changing your engine oil is perhaps the most fundamental maintenance task that can significantly extend your engine's life. Manufacturers typically recommend changing oil every 5,000 to 7,500 miles, though modern synthetic oils may allow for longer intervals. To perform an oil change, first warm up your engine slightly to help the old oil flow better. Position your oil pan beneath the drain plug, remove the plug carefully, and allow the old oil to drain completely.
While the oil drains, remove and replace the oil filter. Once the old oil has completely drained, replace the drain plug, ensuring it's properly tightened but not over-tightened. Using your funnel, add the manufacturer-recommended amount and type of fresh oil through the oil fill cap on top of the engine. After completing the change, run the engine briefly, check for leaks, and verify the oil level with the dipstick. Regular oil changes keep engine components properly lubricated and help remove contaminants that could cause premature wear.
Understanding your vehicle's critical components
 Gaining knowledge about your car's key components helps you identify potential issues before they become serious problems. Your vehicle consists of several interdependent systems, including the powertrain, electrical system, cooling system, and braking system. Understanding how these systems work together provides valuable context for maintenance and troubleshooting. Resources like those found on motorpublish.it offer detailed information about specific components such as alternators—which they even explain how to repurpose for building wind turbines in one of their fascinating articles.
Identifying and replacing worn brake pads
Your braking system is crucial for safety, making regular inspection and maintenance essential. Brake pads should be checked during routine tyre rotation and replaced when they wear down to less than a quarter-inch thickness. Warning signs of worn brake pads include squealing or grinding noises when braking, vibration in the brake pedal, or longer stopping distances. While brake work often requires professional attention due to its safety-critical nature, inspecting your brake pads is something most car owners can learn to do.
When replacing brake pads, always work on one wheel at a time to avoid confusion. After securely raising and supporting your vehicle with jack stands, remove the wheel to access the brake caliper. Unbolt the caliper carefully without disconnecting the brake line, then pivot it away to expose the brake pads. Remove the old pads, apply brake grease to the backs of the new pads where they contact the caliper, and install them in the same position as the originals. Reposition the caliper, tighten all bolts to specification, and repeat for the other wheels. Remember that brake pads typically need replacement every 25,000 miles, though this varies based on driving conditions and habits.
Battery maintenance and replacement guide
Your car's battery serves as the heart of the electrical system, providing the initial power to start the engine and backing up electrical components. Regular testing can help you avoid unexpected failures, particularly as batteries typically need replacement every five years. Signs of battery problems include slow engine cranking, dimming headlights, or electrical accessories that don't function properly. According to car maintenance experts, keeping battery terminals clean and free from corrosion is essential for optimal performance.
When it's time for replacement, begin by identifying your battery's specifications to ensure you purchase the correct replacement. After disconnecting the negative terminal first (marked with a minus sign), then the positive, remove any hold-down clamps securing the battery. Install the new battery in the same position, connect the positive terminal first, followed by the negative, and ensure all connections are tight but not over-tightened. Some batteries require periodic checking of electrolyte levels, though many modern batteries are maintenance-free. Regular inspection and cleaning of terminals can significantly extend battery life and ensure reliable starting in all conditions.